- PRODUCTS
- Products by Categories
- Interlocking Nails
- Nails, Wires and Pins
- Small Fragment - Locking
- Small Fragment - Standard
- Large Fragment - Locking
- Large Fragment - Standard
- Cannulated Screws
- Mini Fragment Implants
- General Instruments
- DHS/DCS & Angled Plates
- Rib, Pelvic & Foot Implants
- Hip Prosthesis
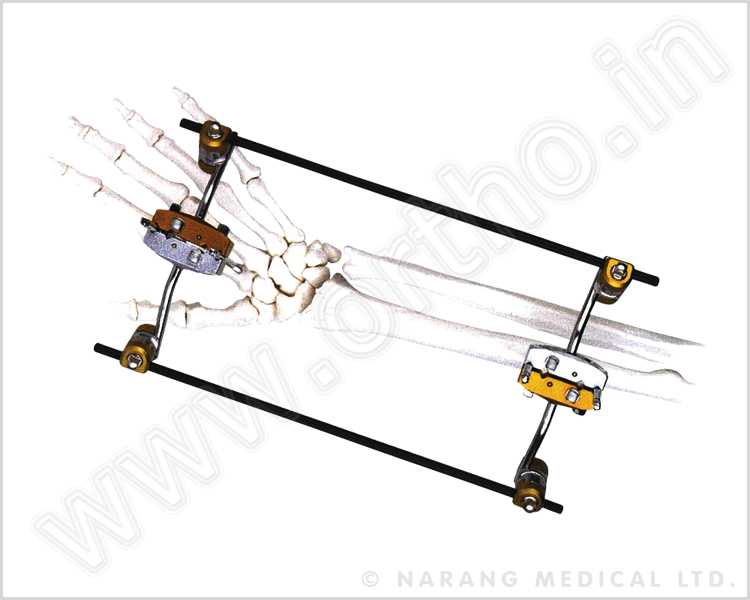
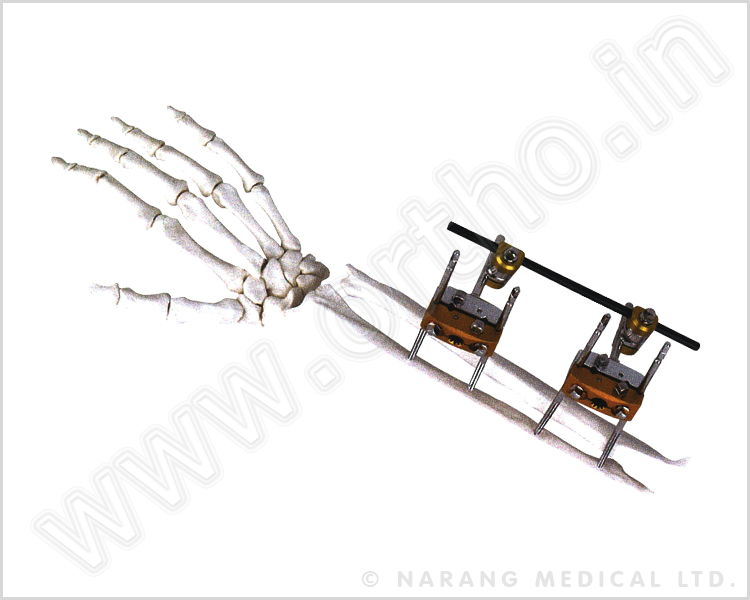
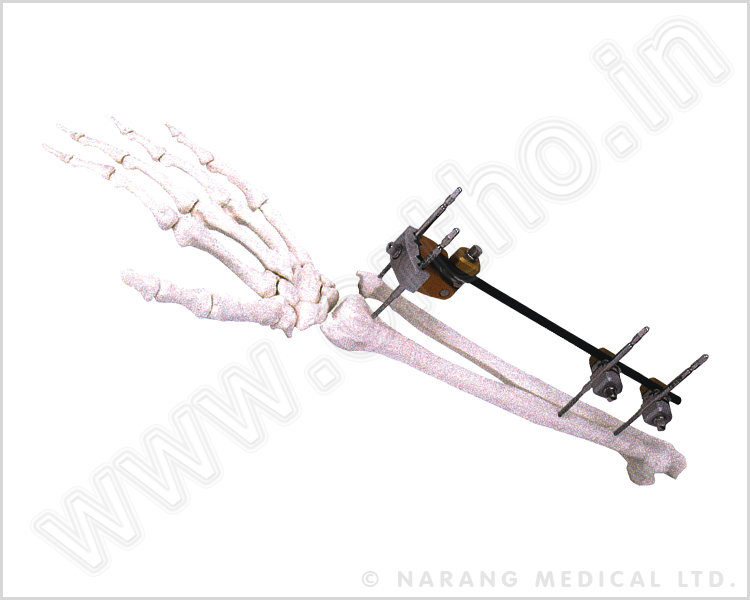
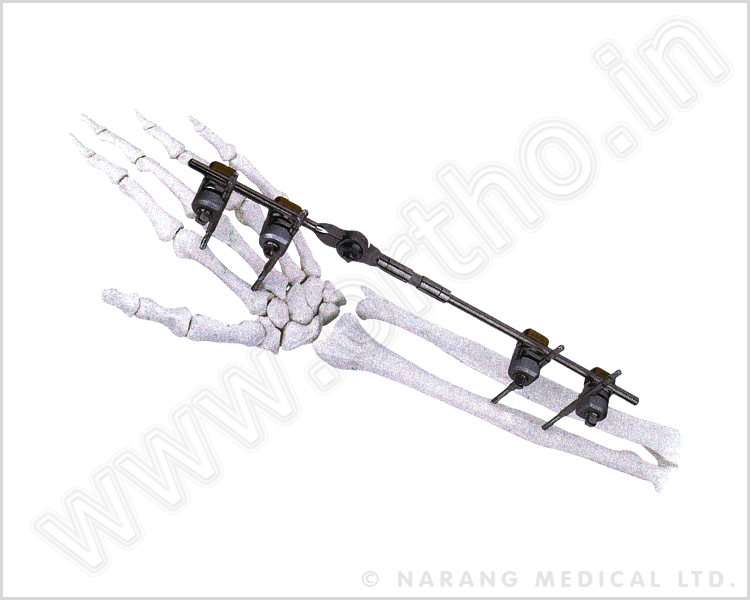
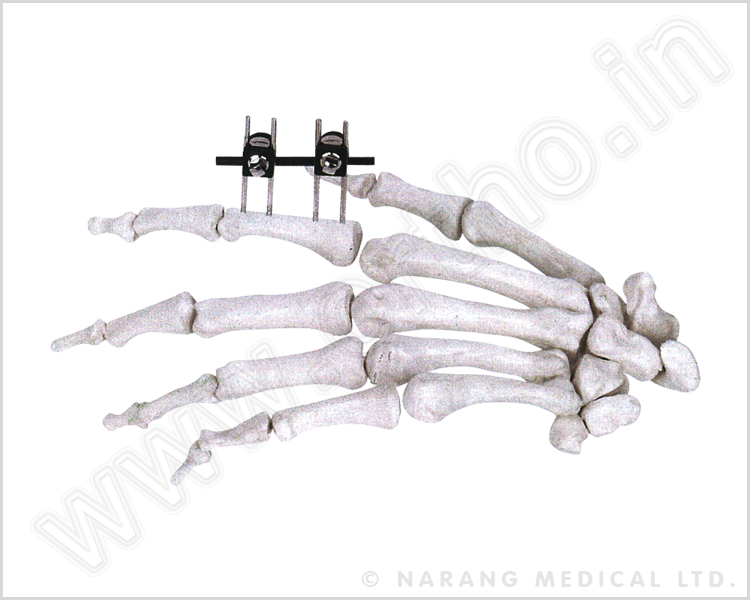
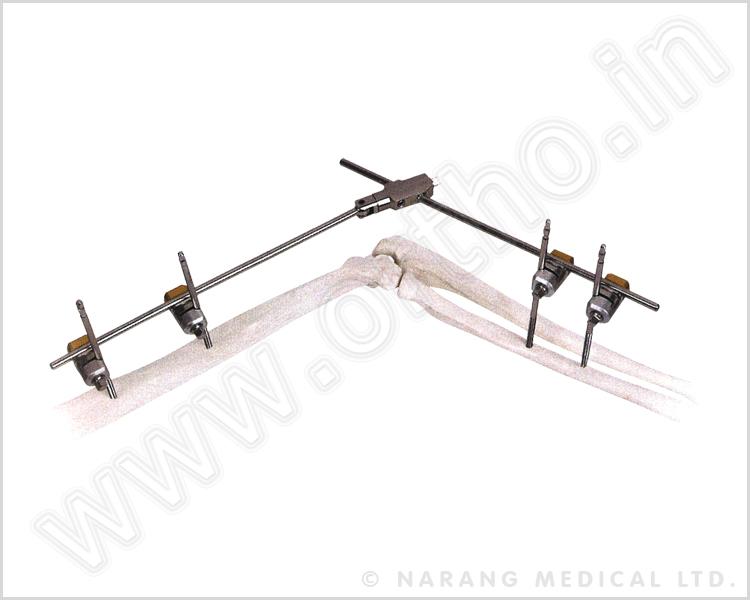
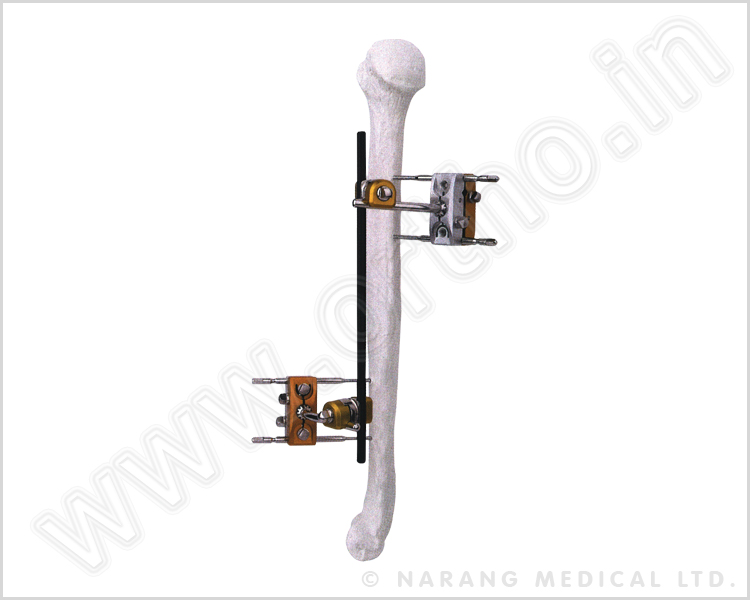
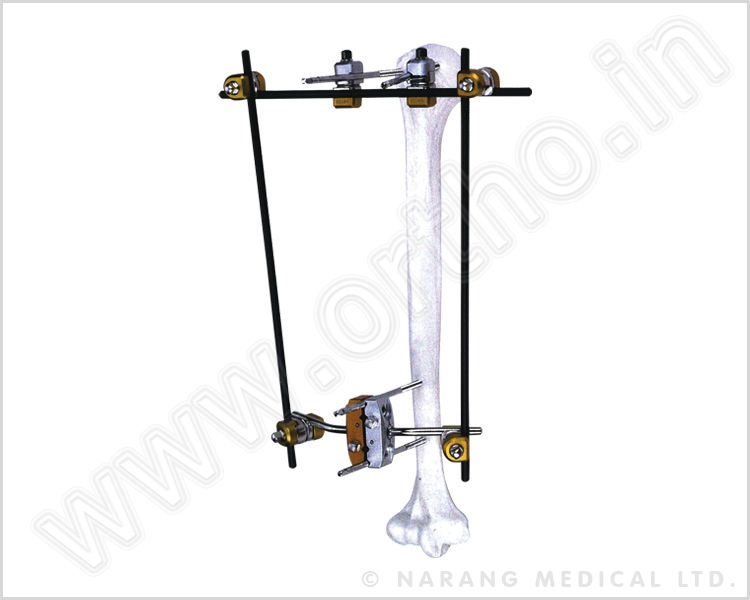
- External Fixators
- Surgical Power Tools
- ACL/PCL Reconstruction
- Craniomaxillofacial
- Support & Braces
- Products by Body Parts
- Cranial/Neuro
- Midface
- Mandible/Orthognathics
- Clavicle
- Proximal Humerus
- Humeral Shaft
- Distal Humerus
- Proximal Ulna
- Proximal Radius
- Radius / Ulna Shaft
- Distal Radius
- Hand
- Pelvis
- Femoral Head
- Proximal Femur
- Femoral Shaft
- Distal Femur
- Patella
- Knee Joint
- Medial Proximal Tibia
- Lateral Proximal Tibia
- Tibial Shaft
- Fibula
- Distal Tibia
- Foot
- Products by Categories
- ABOUT
- Quality
- CONTACT
- PRICING